
Of all the wonders of the modern world I think that a supermarket would be the thing that would inspire the most awe in a time-travelling medieval peasant. The availability of spices would be one thing. Our vast range of ultra-processed ready-to-eat meals would be another. But the ability to walk into a supermarket and womble out with a couple of beef tenderloins would be the clincher. In the middle ages food preparation took a lot of effort. Tenderloins don’t run around in fields until they are ready to be eaten, cows run around fields and cows weigh about 500 kg, only 2 kg of which is tenderloin. There is a lot more to a cow than the tenderloin and the rest of that cow needs to be processed relatively quickly, because no refrigeration remember, which also means no transportation. If it isn’t going to be eaten locally then it needs to be preserved. Slaughtering and processing an animal is a giant amount of work.
Things that take a giant amount of work tend to be expensive and even well-off peasants typically couldn’t afford beef, certainly not the better cuts. Beef was a bit of luxury in the medieval period; the reserve of the rich and powerful. The main meat staples of the medieval peasant were lamb and pork but the basic problem remained. Parts of the animal were better than other parts but who could afford to waste any part of animal that they had slaughtered? Everything needed to be used and all parts of the animal preserved, consumed or sold, or more likely bartered, locally. We are spoiled by our modern supply chains and access to refrigeration. The ability to walk out of a supermarket with a choice cut for a reasonable amount of money without having to worry about the rest of the animal would be a wonderful luxury for the average medieval peasant.

One of my first posts was about cooking steak and you could think of that as a post about cooking the expensive cuts of a cow (though the science is the same for lamb and pork). But today I want to look at the science behind some of the tougher cuts of meat, the kind of cuts our medieval peasant ancestors would have been very familiar with and the cuts that have, ironically, inspired some of our now classic winter time dishes. To cook tougher meat you need different techniques than those you would use for a steak. These techniques make cuts like brisket, chuck and shank edible without having to chew for several hours. We all know that you can’t cook brisket to medium rare on the grill and end up with an appetising dinner. So lets find out how we’re supposed to do it.

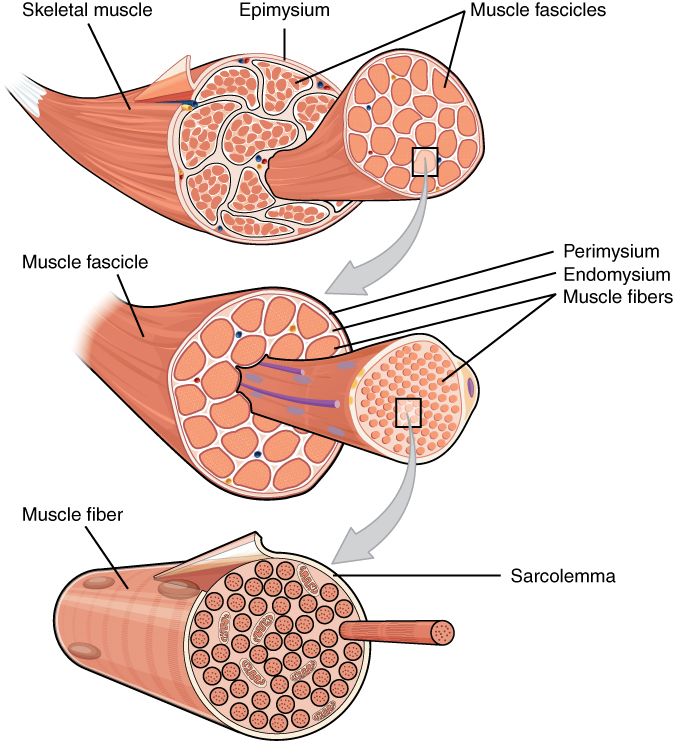
We already know that the toughness of a piece of beef (or any animal for that matter but lets stick with beef) is a function of how much work that muscle did while the animal was alive. Muscles are basically bundles of muscle fibres that are long cells containing actin and myosin that together provide the ability of a muscle to contract. When muscles are exercised the number of muscle fibres stays the same but more actin and myosin is produced so the muscle fibres increase in size. In animals, at least, though it is likely in humans as well, you also get more intramuscular connective tissue that holds the muscle fibres together. The most important constituent of connective tissue, for our purposes, is the protein collagen and anyone who has come across some stray connective tissue in a steak will know how hard it is to chew through. It is this combination of large, protein-filled muscle fibres and abundant collagen that makes a specific piece of meat tough.
A fun fact is that a lot of mammals do not possess a collar bone, or clavicle as it’s known in anatomy circles. In humans this bone provides support for the scapula, the technical name for the shoulder blade, and the arm. In some mammals, particularly those that run quickly on all fours or use their forelimbs to support a lot of their body weight, the clavicle is often missing. In humans and other primates, the clavicle helps with ‘hands away from body’ activities, evolutionary this would have included things like swinging from branch to branch, but for modern humans includes things like interacting with an iPhone or operating a coffee machine.
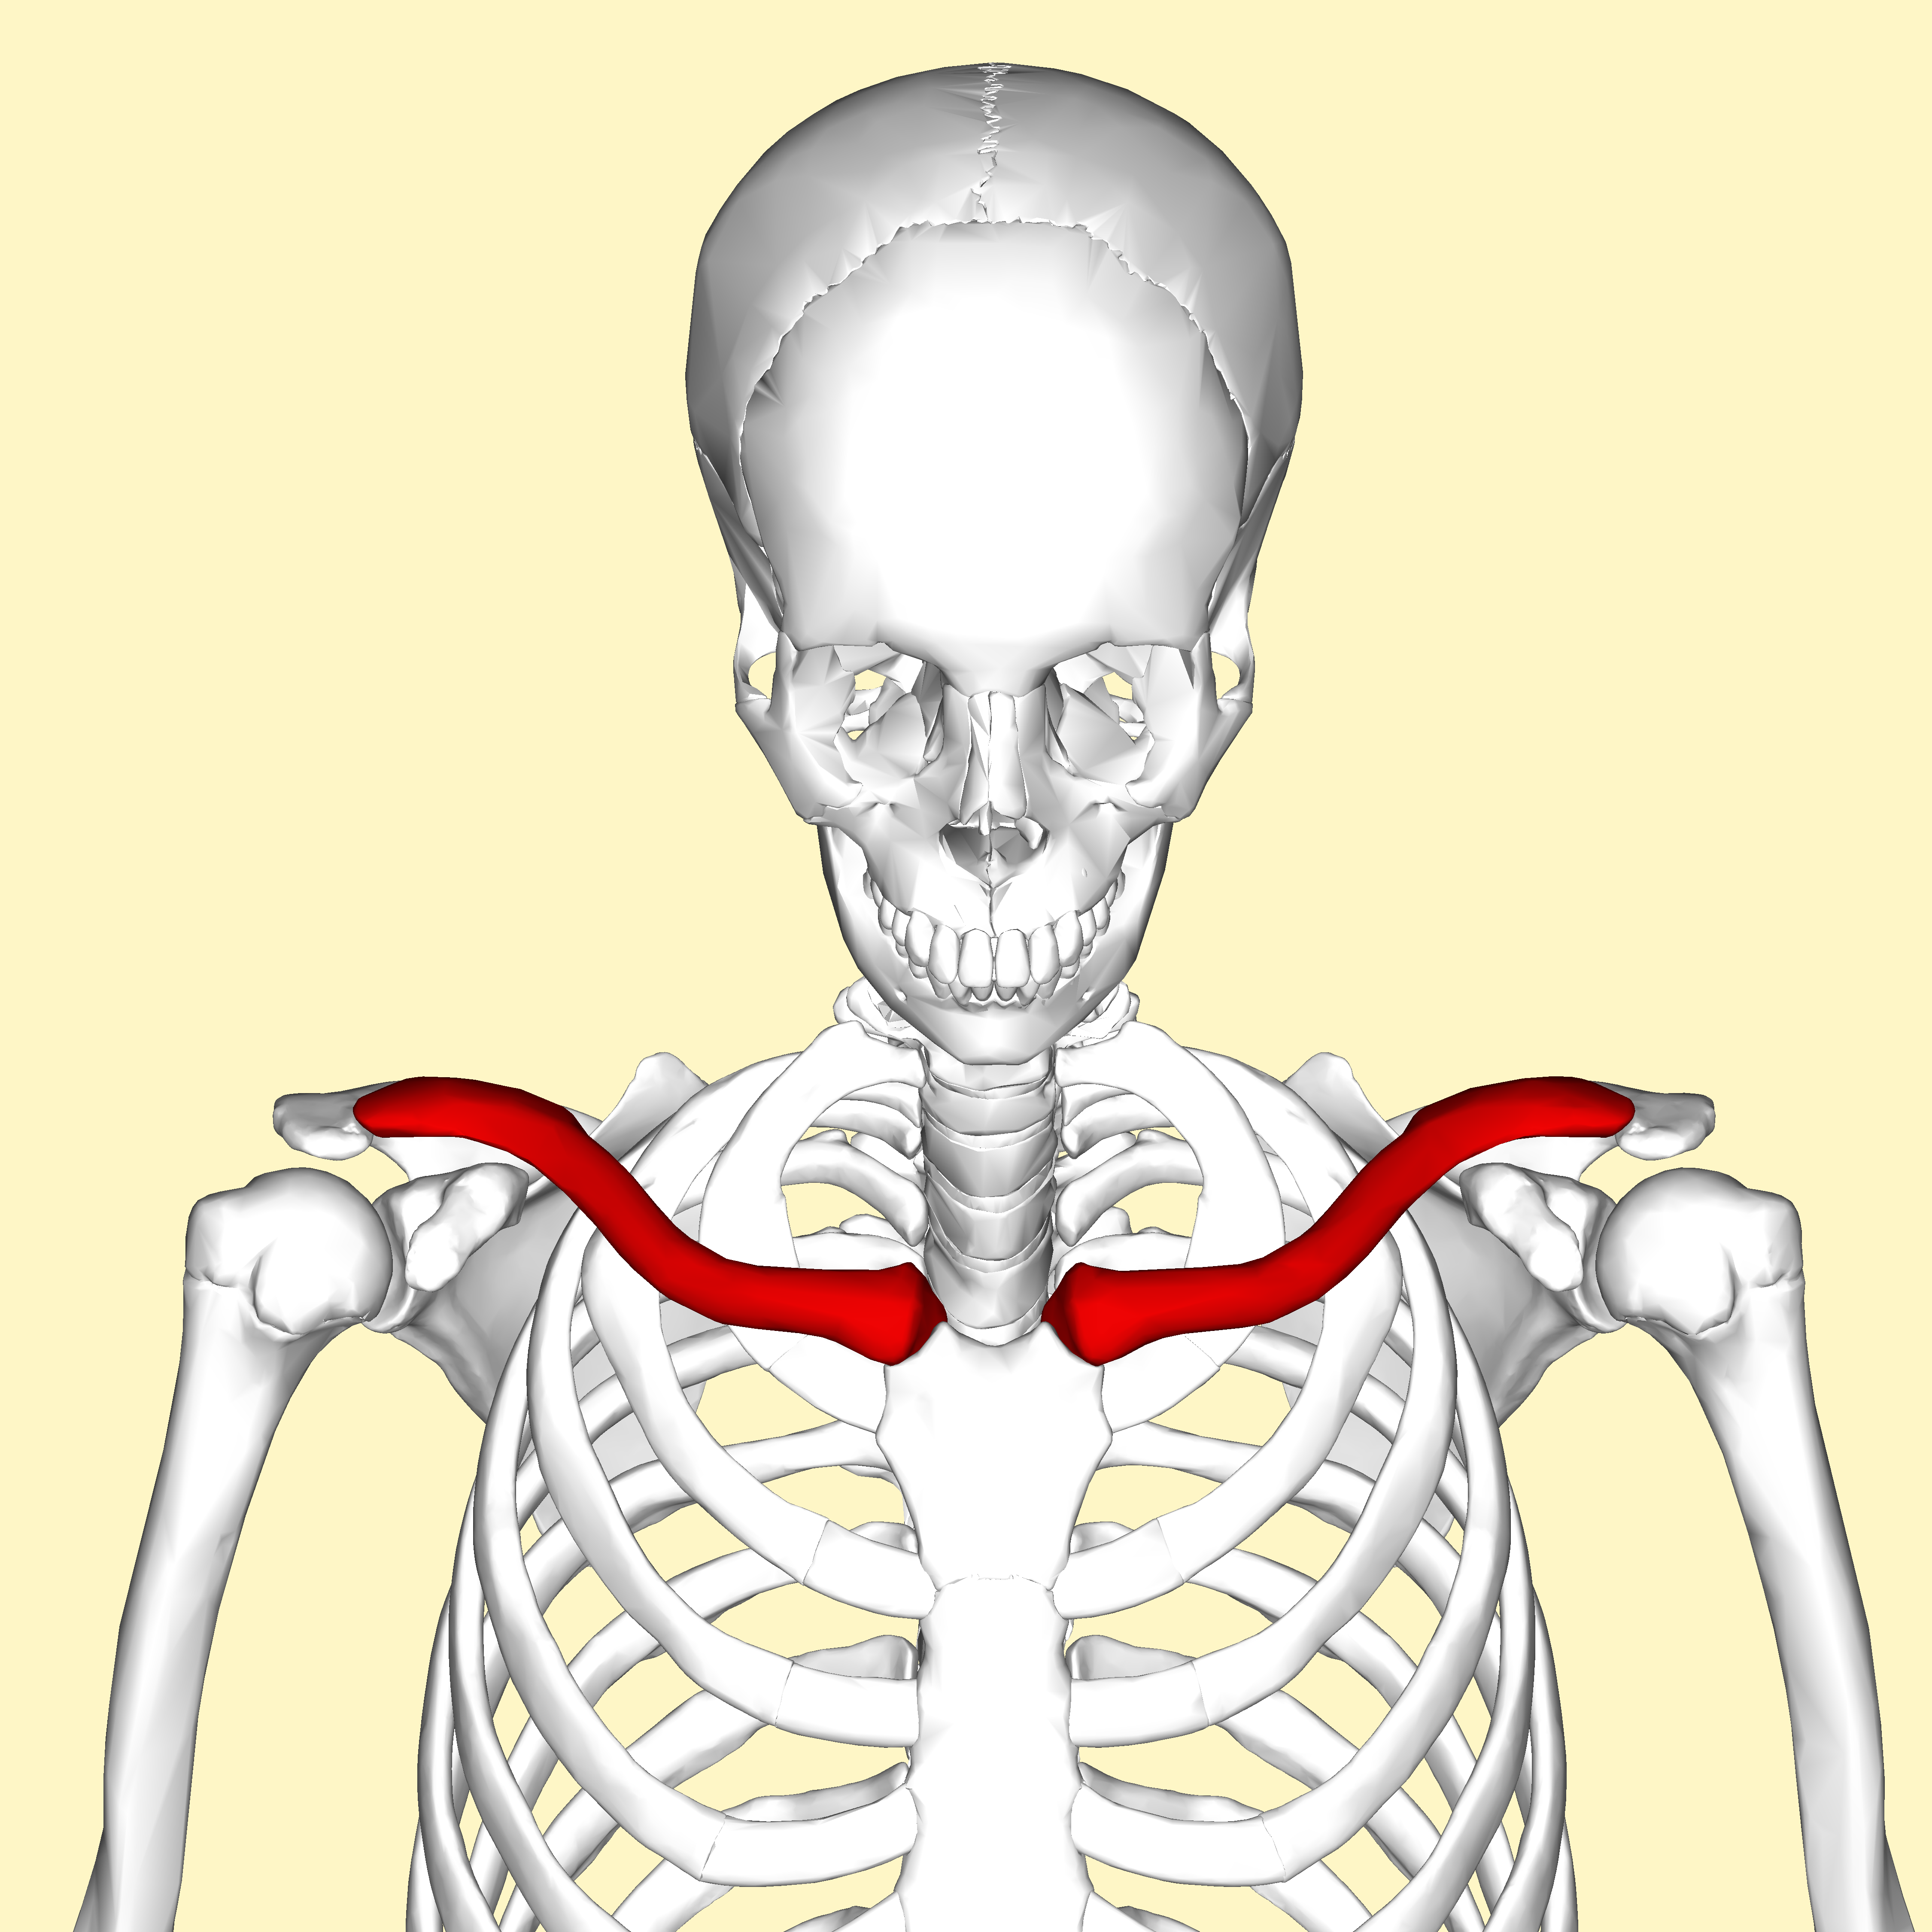
Cows, who do not use iPhones also don’t have a clavicle and they rely on their chest muscles (or pectoral muscles) to support a lot of their weight. The average cow weighs about half a tonne and about 60% of this, about 300 kg, is supported by it’s chest muscles, the remaining weight being supported by it’s hind legs. So even if a cow is just standing in a field it’s muscles in it’s chest and hind legs are still hard at work1.
Armed with this knowledge of cow anatomy we can now see that the hardest working parts of a cow are going to be those at the front and rear of the cow around the legs and chest. So a useful rule of thumb is that the tenderest parts of the cow are in the centre top around the loin and rib area. As you move away from this area the meat will get tougher. If you go down you hit the plate and brisket. If you go forwards you get chuck and if you move rearwards you get the round. All tougher cuts of beef.

I was going to talk a bit about the different kinds of cuts you can get at the butcher and their potential toughness but there is a never-ending list of different cuts and they’re called different things all over the world so I gave up (there’s a good resource here though). But if you are not sure if your raw piece of meat is tough then consider where it came from in the animal, we also know that tender cuts have small muscle fibres and tough cuts have quite large ones so see if you can make out the fibres and, of course, if you can see connective tissue then you know it is likely a tough cut.

So in any cut of meat we are going to be dealing with two sources of toughness: the muscles fibres and the connective tissue. Lets deal with the muscle fibres first. If you have a piece of meat with long, large muscle fibres you want to shorten them with a knife rather than having to chew through them while you’re eating. You can do this by slicing your meat against the grain, that is by slicing across the muscle fibres rather with them when carving. For a tender steak, a Fillet Mignon for example, it’s not such an issue because of it’s small muscle fibres and because the butcher would have cut across the grain when preparing the steak. But if you are cooking an entire loin or smoking a brisket you can maximise the tenderness by cutting against the grain when serving. Sometimes it’s easy to see the fibres but other times it can be more challenging and sometimes the grain changes direction halfway along a cut, but the more you do it the easier it becomes (there’s a good resource here if you want to know more). It’s also sometimes easier to see the fibres when the meat is raw so it’s worth checking before you cook. It is a good habit to get into, always slicing your meat against the grain.

In a tough piece of meat we also need to deal with the connective tissue. Specifically it is the collagen in connective tissue that we need to deal with by breaking it down into gelatin. Gelatin is easier to chew and has the added benefit of trapping water and so retaining some tenderness in our meat. We usually break down collagen by cooking, that is by applying heat. We know what happens to muscle fibres as you cook them: the proteins denature and they start ‘tightening’ up and squeezing moisture out of the meat. Think of a well done steak, at around 70-75C the proteins of the muscle fibres are coagulated and have squeezed out most of the moisture making it dry. Collagen, on the other hand, starts breaking down into gelatin at around 71C. So the aim is to prevent water loss by minimising, as much as we can, the coagulation of the muscle fibre proteins but maximise the breakdown of collagen to gelatin. The question is how the hell do we do that when at 71C muscle fibres will be fully coagulated but collagen breakdown will just be starting?
We can find the answer to that question by thinking about the way that the temperature will increase through our piece of meat. When we heat a piece of meat we establish a temperature gradient from the outside of the meat to the centre. The gentler this gradient the better. If we cook at high temperature the centre of the meat will reach our target temperature quickly but we’ll have much higher temperatures through the rest of the meat. If we cook at low temperature the centre will reach it’s target temperature slowly but the rest of the meat will also be at a lower temperature. If the centre of the meat is at 80C we don’t want the outside to be 100C we want it as close to 80C as we can get it.
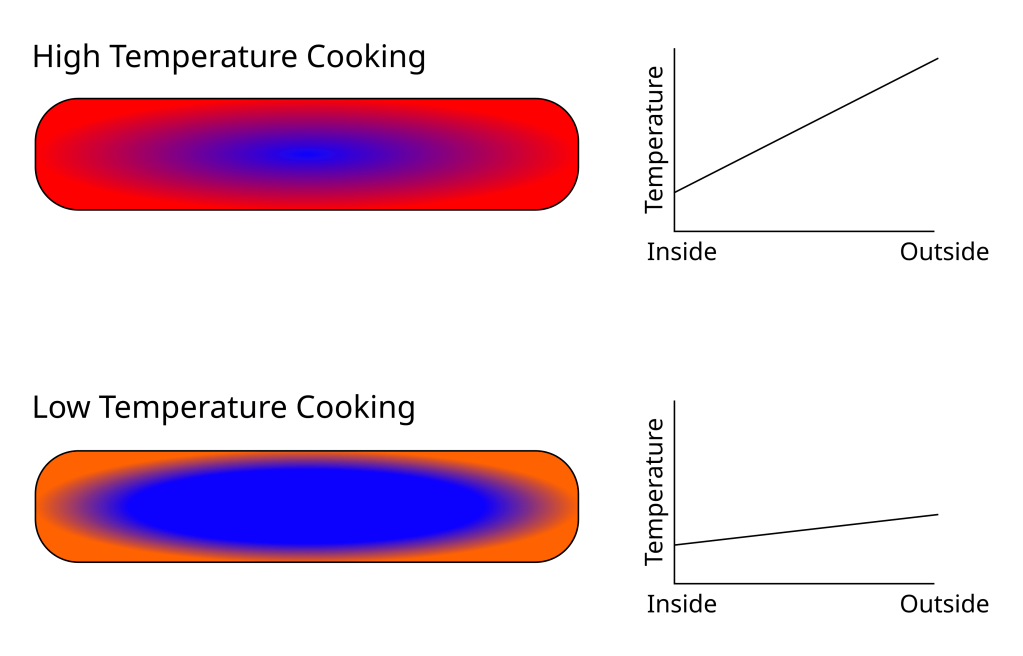
If we use a gentle temperature gradient for a long time less of the meat will have been exposed to high temperatures while most of it will still have experienced temperatures high enough to break down collagen. This is the basic idea behind ‘low and slow’ cooking. A gentle gradient also decreases the speed at which things are happening and gives you a much bigger window of ‘perfection’. A steep gradient, on the other hand, means the temperature is increasing rapidly so your meat can become overcooked quickly. If you are grabbing a mid-braise nap your meat can easily be ruined before you wake up. A gentle gradient is the lazy cooks friend.
The other thing working in our favour with a long slow cook is that collagen may still be breaking down at lower temperatures. Although the internet says collagen starts breaking down at 71C, I don’t actually think that is quite right. Breaking down collagen into gelatin is a two step process: the collagen denatures and then the protein chain breaks in a chemical reaction called hydrolysis. As far as I can tell both of these things are examples of a first-order Arrhenius reaction. Which for our purposes is a fancy way of saying that they are temperature dependent. So even at temperatures lower than 71C collagen will be denaturing and hydrolysing (and thus forming gelatin) it will just be doing it slower than it would be at 71C2 . Although our meat wont be above 71C all the way through till reasonably late in the process, we’ll still be getting collagen denaturation and hydrolysis at the lower temperatures, just at a slower rate. Which is fine because the cooking will be going on for a long time anyway.
So we have a piece of brisket, silverside or oxtail for dinner. How are we going to cook it? I’m going to leave smoking for another post and look at braising and stewing. That is cooking in water (or stock, or wine, or milk etc). The difference between braising and stewing is that braising normally involves a full cut of meat and enough moisture to only partly submerge the meat. Stewing is when the meat is cut up into smaller chunks and fully submerged in the liquid. In either case the golden rules are to brown the meat before beginning the stewing or braising process to get some Maillard reactions and keep the temperature of the fluid as low as possible to avoid overcooking the meat. If cooking in the oven this means that you should crack the lid a bit. Even with the oven set as low as 160C having the lid on means that it will come to the boil eventually so you want to get some evaporation happening to cool down the liquid and keep the temperature gradients gentle3.

Harold McGee, who of course worked all this out a long time ago, recommends cooking your stew or braise in the oven with the lid cracked and the temperature set to 95C (~200F). This will slowly bring the temperature of your dish up to 50C over about two hours. After this crank it up to 120C (250F), so the stew slowly comes up to 80C or so, and let it cook for another hour. After that check the meat every half hour and stop cooking when a fork can easily penetrate the meat. You also want to let it cool for a while before serving to allow the proteins to relax a bit and let some moisture back into the meat. This approach reflects what we discussed above, a slow gentle heat denaturing muscle fibres and then using just enough time above 70C to ensure collagen breakdown and gelatin production. You can also do this on the hob but it’s a little harder to control your temperatures and so you’ll need to keep a closer eye on proceedings.
Do we need to be this precise? Probably not and looking at recipes online most of them are cooked at 180C (350F) often with the lid on, so clearly that works for most people; it’s certainly easier. There are also a ton of variables, you may want to add vegetables at some stage which will cool down the stewing liquid, every oven is different when it comes to temperature control and every cut of meat is different in the amount of collagen and the size of it’s muscle fibres. Because gelatin is really what makes tough meat succulent, if you are braising a more tender cut, with less collagen, you’ll probably want to be more careful as you have a lot less gelatin working for you. A lamb shank or pork shoulder, packed with connective tissue, can be very forgiving so you can afford to mess around with timings and temperatures. Ultimately, the science tells us whats going on and sets some limits but our tastes, the tools we have, the time we have to get dinner on the table and the characteristics of every cut of meat are different and this is where cooking becomes an art rather than a science and, unfortunately, I can’t help you with that.
Footnotes
- If you thought we may have worked out all this clavicle stuff a long time ago here is a 2019 research paper on clavicles in animals, fascinating stuff ↩︎
- There is generally an activation temperature below which a first-order Arrhenius reaction wont proceed but I couldn’t find one for the non-enzymatic hydrolysis reaction but collagen can start denaturing around 39C. So at the least collagen will be denaturing even if the hydrolysis reaction has a high activation temperature. ↩︎
- There seems to be a bit of internet controversy over whether the lid should be on or not but most of it seems to revolve around the consistency of the finished sauce. My thinking is that you can always add more liquid if it is too thick or take the meat out of the sauce at the end and boil it down a bit if it is too thin; so concentrate on the meat first rather than trying to perform a simultaneous optimisation. ↩︎

Leave a comment